Entra ID (formerly Azure AD) Provisioning Instructions
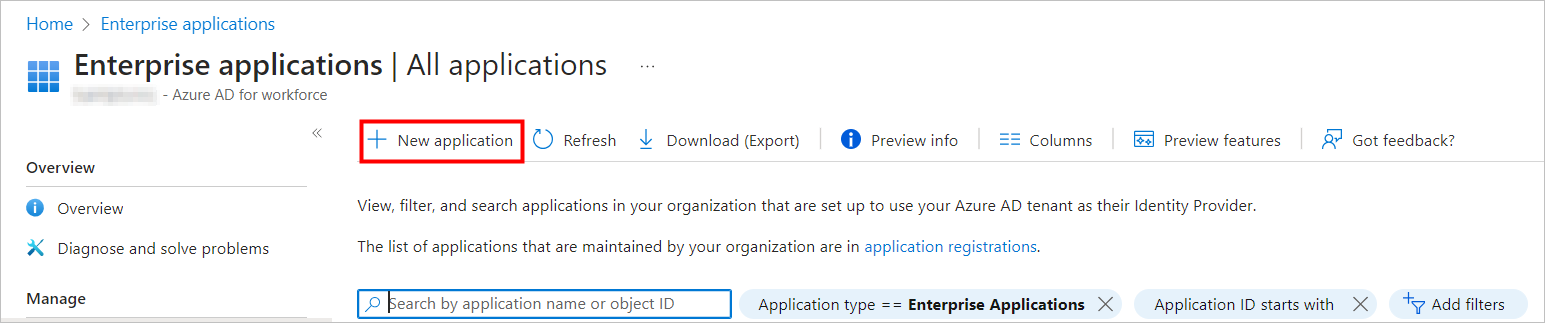
(1.) Begin by creating a Dynasend Enterprise application in the Microsoft Entra ID (formerly Azure AD) portal. From the Microsoft Entra admin center left-hand menu, expand “Applications” and choose “Enterprise applications”.

(2.) From the top menu, choose “+ New application”.
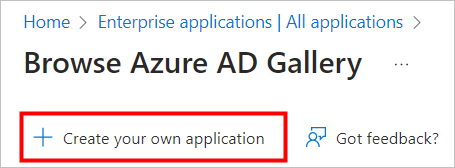
(3.) From the top menu, choose “+ Create your own application”.
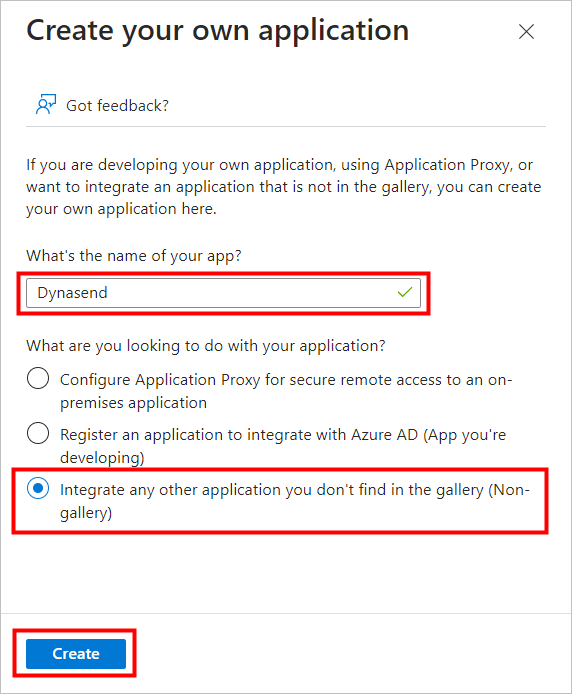
(4.) In the fly-out menu that appears to the right, enter “Dynasend” (or a different name if you’d prefer) in the text box labeled “What’s the name of your app”. Leave the default radio button for “Integrate any other application you don’t find in the gallery (Non-gallery)” selected, then click the “Create” button.
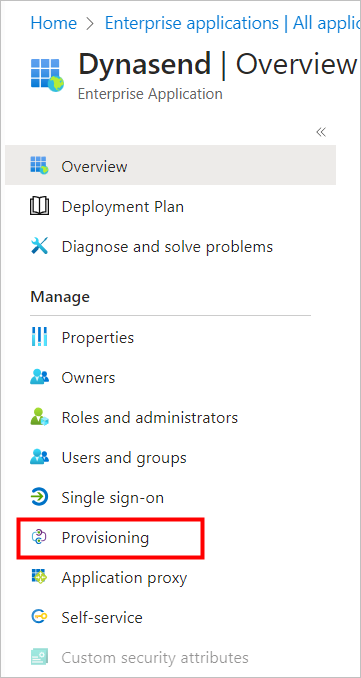
(5.) After the application has been created, in the “Manage” section, select “Provisioning” from the left-hand application menu.
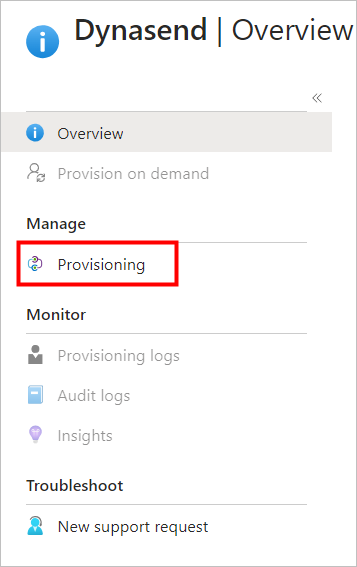
(6.) From the application provisioning page, under the “Manage” section, select “Provisioning” from the left-hand provisioning menu.
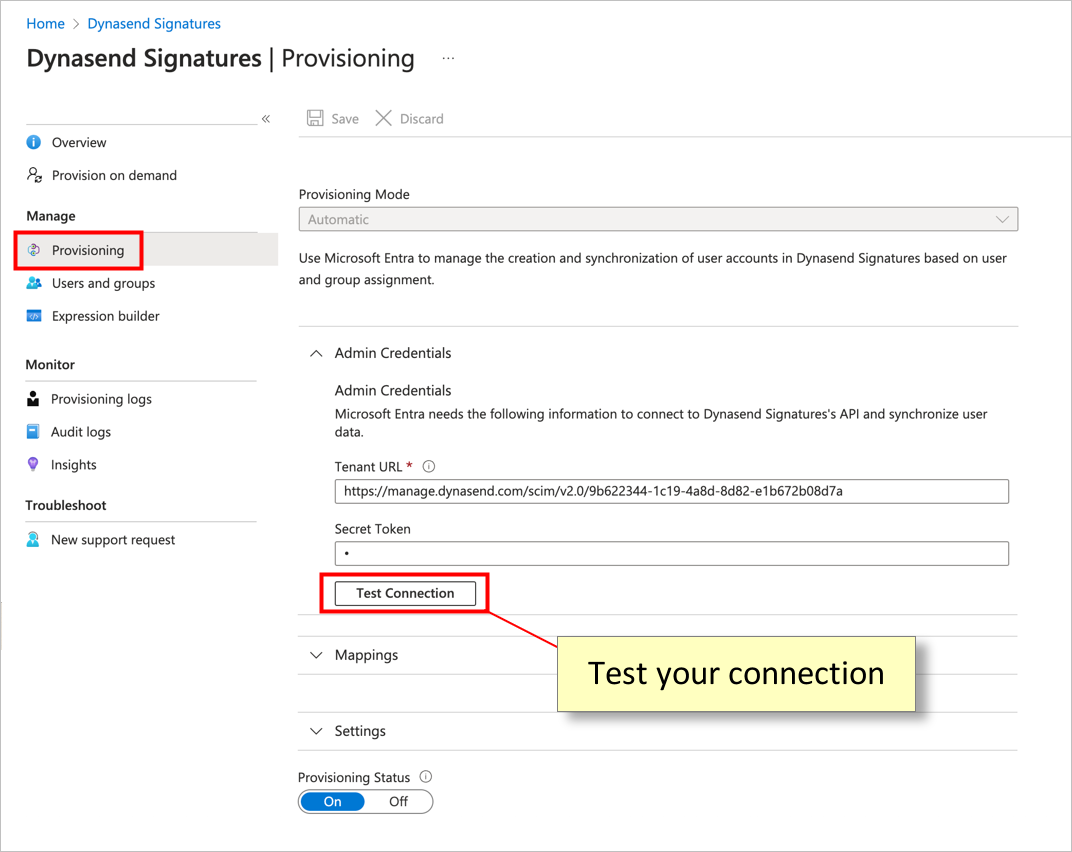
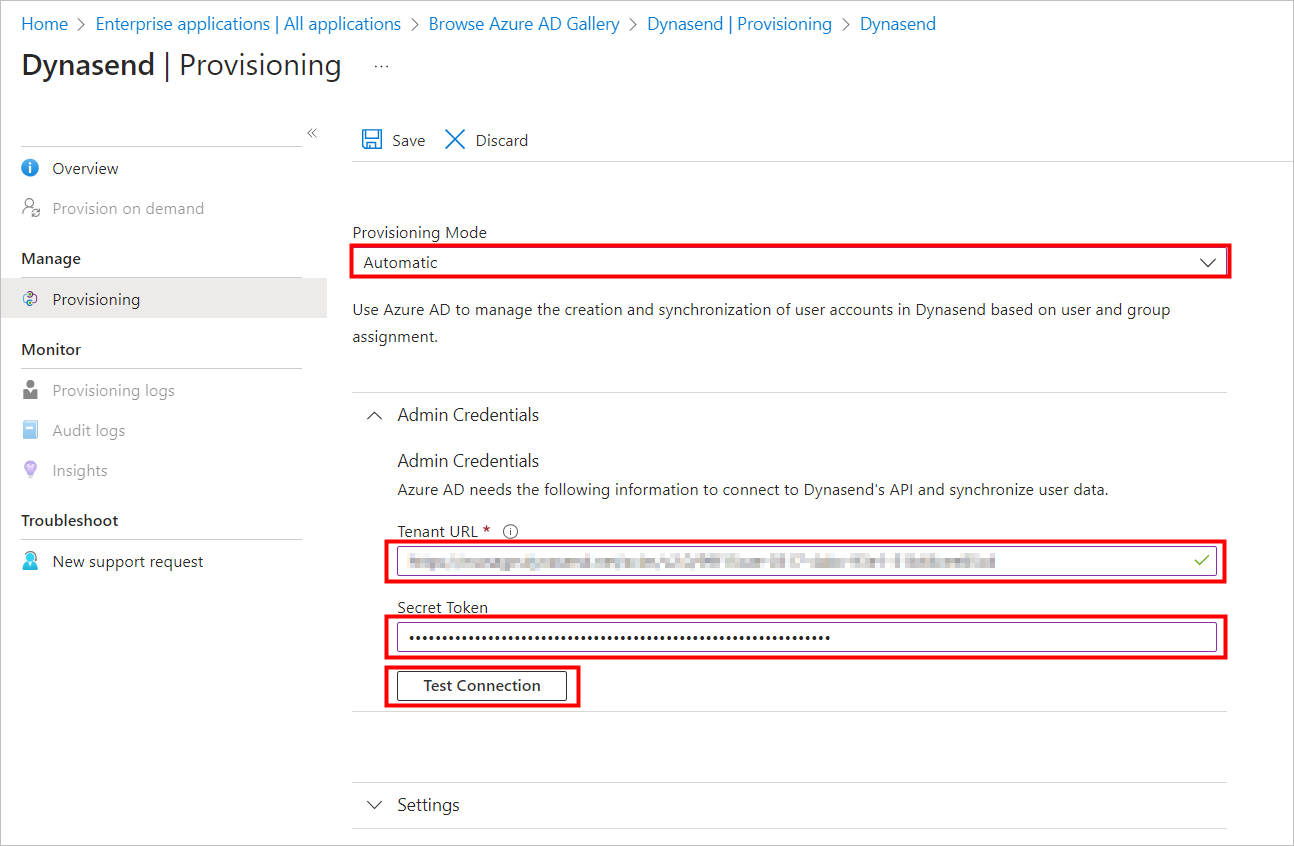
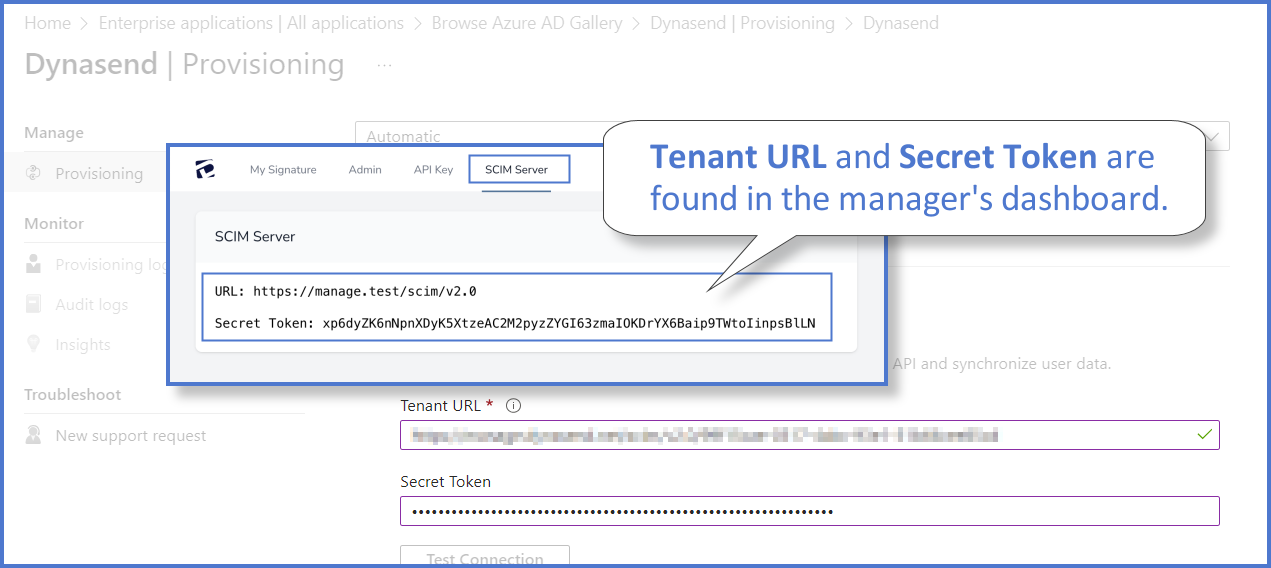
(7.) In the “Provisioning Mode” drop-down list box, select “Automatic”. In the Tenant URL and Secret Token text boxes, enter the information that you have been supplied by the Dynasend team. Click the “Test Connection” box. If the test returns successful, click the “Save” button from the top menu.
Note: You can also find your tenant URL and secret token in the SCIM Server tab of your Dynasend dashboard:
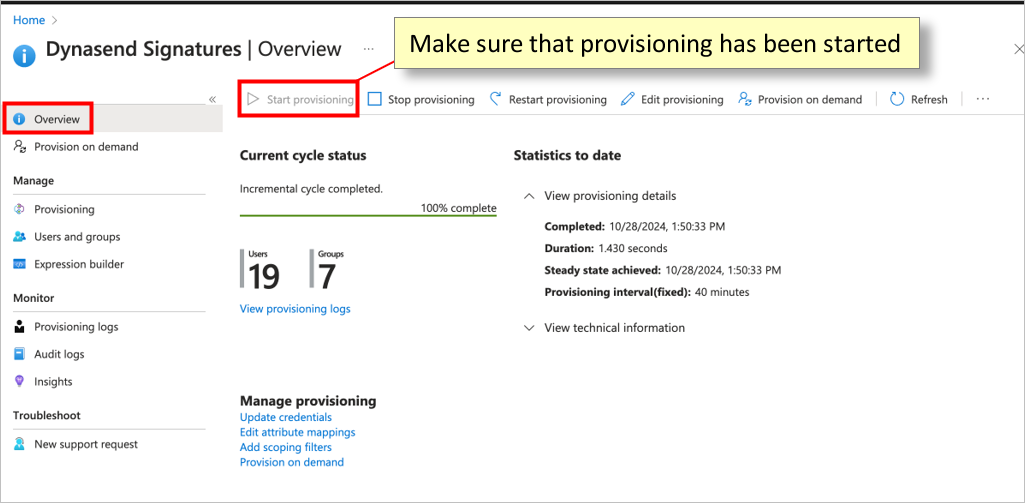
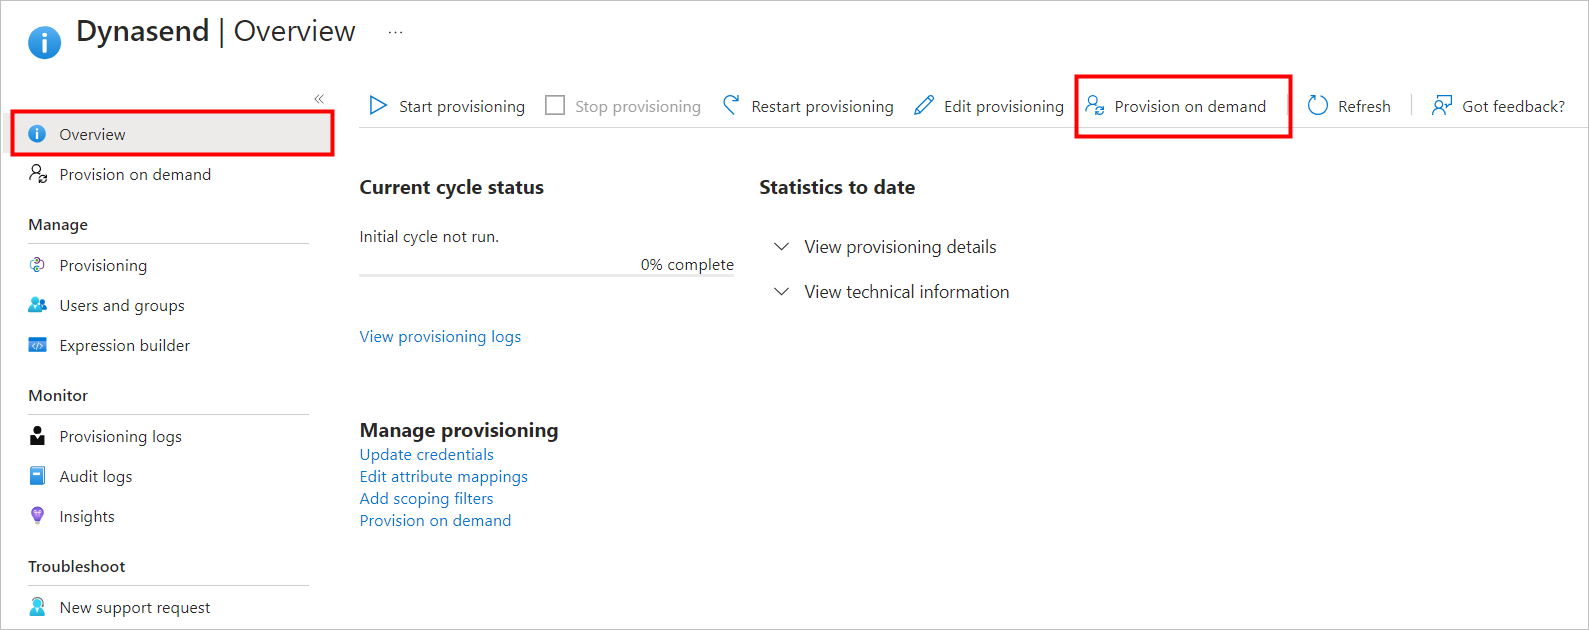
(8.) On the Provisioning left-hand menu, choose “Overview”, then choose “Provision on demand” from the top menu.
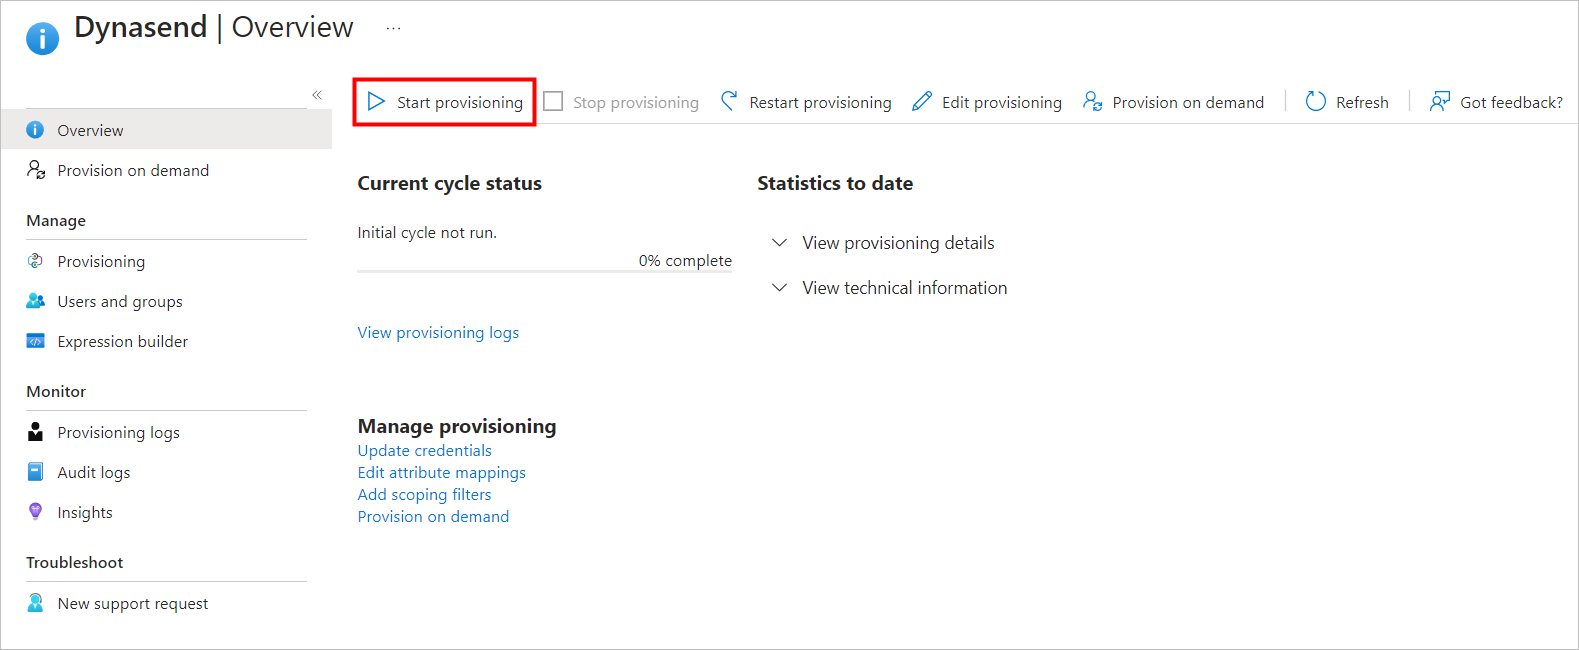
(9.) Verify that a single user can be provisioned successfully, then choose “Start provisioning” from the top menu.
For more information see the Microsoft Support articles: What is automated SaaS app user provisioning in Azure AD? and Attribute-based application provisioning with scoping filters.
(10.) In order to make all users visible to Dynasend, one more step must be taken.
Note: If you don’t already have an Active Directory group containing all mailbox users, create a group in Active Directory called “Dynasend” or “All Users” and add all mailbox users to it. Then wait for that group to sync up to Azure.
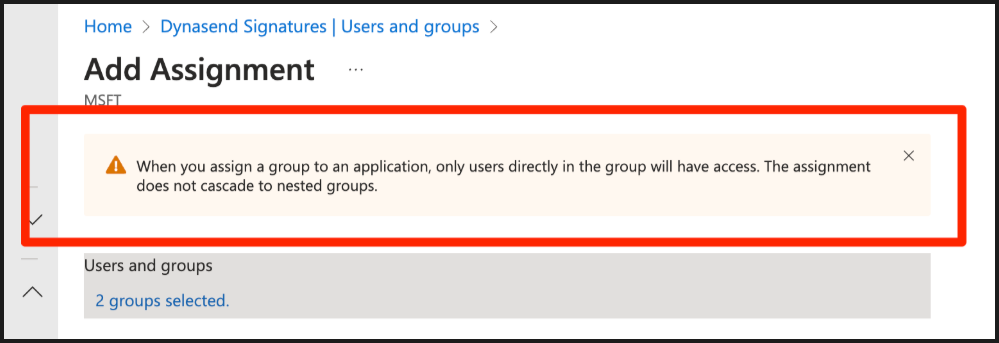
Then, within Azure, for the Dynasend service principal under that Provisioning section, click on USERS AND GROUPS and then click on ADD USER/GROUP and then add this group of all users from Active Directory:

This will complete the process of sending data on all users to Dynasend.
Two Final Checks
Here are two final things we recommend that you do to ensure that the configuration is correct and is running.