MacMail OSX Email Signature Installation Instructions
Part 1 - Copying Your Signature to Your Clipboard
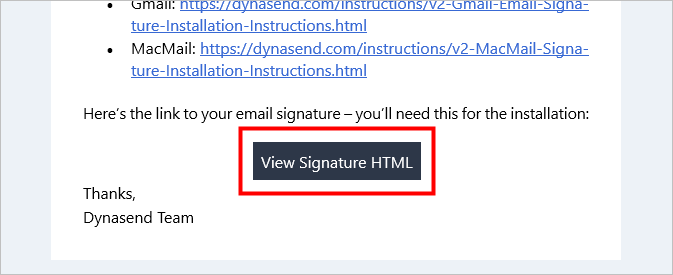
Click the link in the email to open your signature in your browser.
Note: If you use Safari as your default browser during the installation the formatting will be goofed up. Copy the URL from Safari and paste it into another browser - Google Chrome or Firexox - and then use that browser to complete the installation.
With the browser window active, Hit COMMAND-A to highlight the signature.
Then hit COMMAND-C to copy the signature to your system clipboard. Hide or close the browser window.

Part 2 - Installing Your Signature
Step 1 (Refer to graphic below):
Open your Apple Mail. Hit COMMAND-, (CMD and comma) to bring up Mail Options. Mail Options can also me found under Mail in the top menu.
Find the signatures dialog in the Options menu.
Make sure your email account is highlighted for all of the following steps.
Click the ” +” button to start a new signature. The new “Signature #1” will be listed in the center column. You can rename if need be.
In the right column, delete the text shown.

Step 2:
BEFORE doing Step 2, make sure to UNCHECK the box that says “Always match my defult message font” (see the graphic below).

With your cursor still in the right column, hit COMMAND-V to paste your signature into the window (Refer to graphic below). The images will not show here which is normal.
Use the “Choose signature” drop-down menu to select this signature as the default for your email account.
You can now close the Options Window.

Step 3 (Refer to graphic below):
Open a new email to see that the installation was successful.

ADDITIONAL NOTES:
If the signature appears with some misalignments or gaps, there is nothing wrong. This sometimes happens when composing a new email. Your signature will appear perfectly when delivered to your recipient.
Hyperlinks in email will not work while you are composing or responding to a message. To test your links, click while holding down the Command key.