Outlook Email Signature Installation Instructions
FAQ’s (These may be helpful AFTER installation): /docs/email-signature-user-faqs/
Part 1 - SAVING YOUR SIGNATURE FILES
You should have received a delivery email from us with your HTM signature file(s) attached. Right-click on one of the attached HTM signature files and choose “Save as” or “Save all attachments…” from the drop-down.
Save to your desktop or a folder of your choice. You can also simply drag these files to the appropriate folder.
Part 2 - COPYING YOUR SIGNATURE FILES
Navigate to the folder where you just saved your signature file(s).

Select the files you wish to use. To select all of them, press Ctrl-A (press the “Ctrl” key and the “A” key at the same time).
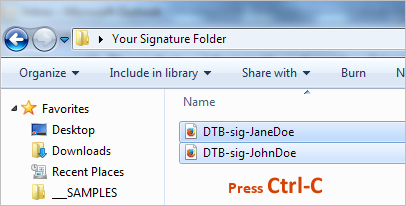
Now with your selected files highlighted in blue, press Ctrl-C (press the “Ctrl” key and the “C” key at the same time) to copy them.
PART 3 - COMPLETING THE INSTALLATION INTO OUTLOOK
Step 1. Now go into Outlook and navigate ALMOST all the way to your email signature dialog by doing the following:
Outlook 2003 or Outlook 2007
- from your inbox, click TOOLS at the top
- pull down to OPTIONS
- click the MAIL FORMAT tab
Outlook 2010 or 2013
- from your inbox, click FILE in the upper left corner
- pull down to OPTIONS
- click MAIL in the left column
At this point you’ll see the “Signatures” button - HOLD YOUR “CTRL” KEY DOWN AND CLICK THE BUTTON AT THE SAME TIME .

The folder that stores your signature files will open.
Step 2. Press “ Ctrl-V” or RIGHT click and choose PASTE to paste your signature file(s) into this folder.
Step 3. Close the signatures folder, and this time just click the “Signatures” button normally:

Step 4. You’ll now see the signature you just saved in your list of existing signatures. Set this signature as your default signature for new messages and for replies, save your settings and exit the signature dialog.
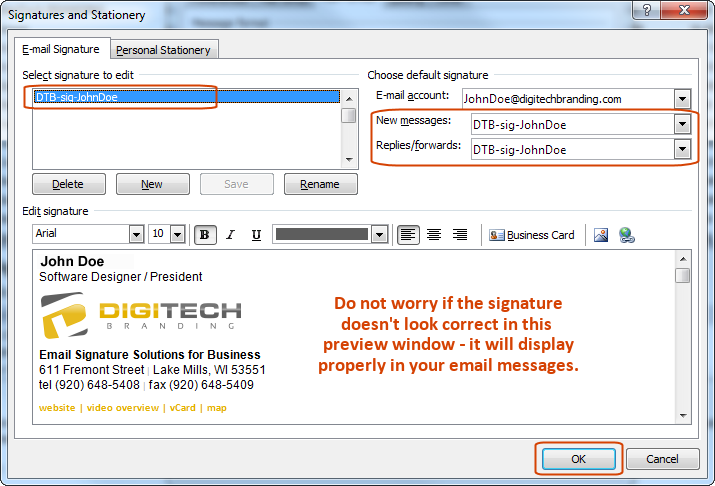
You’re now finished installing your signature.