Quick Start Step 6 - Create & Attach Locations
There are two parts here.
Part 1
First you must create it, using the LOCATIONS functionality.

Just follow the process to create the location(s) - it should be self expanatory.
Part 2
Then, after creating your location(s), it (or they) has to be ATTACHED to the correct signature program.
First, view the PROGRAM that you want to attach the location to - “USA” in this example:

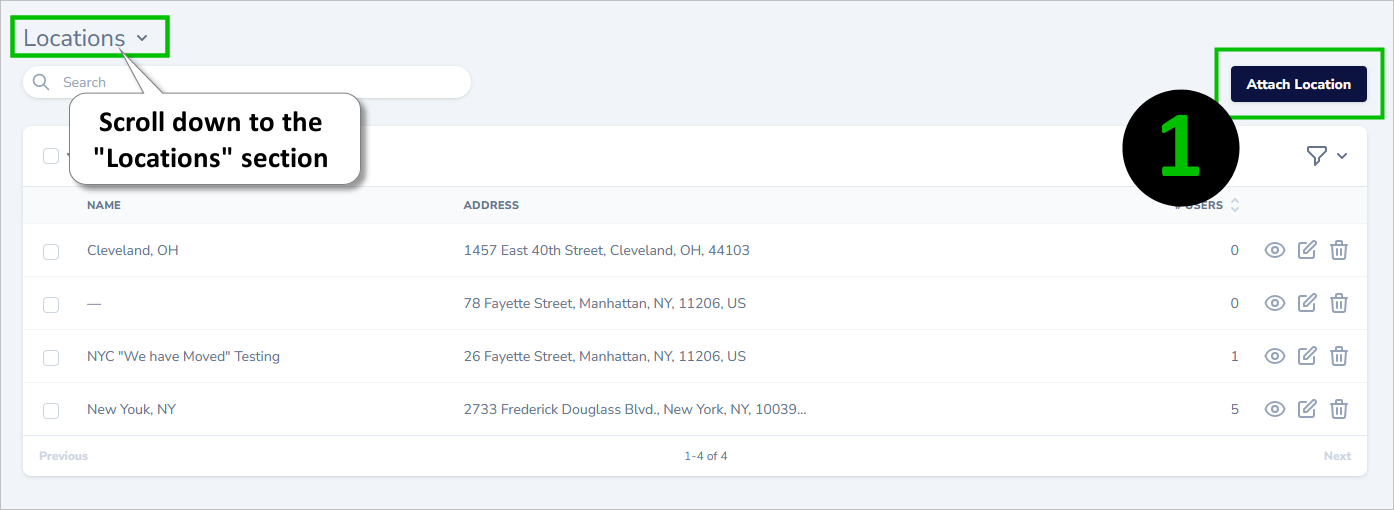
You’ll be on the PROGRAM > DETAILS page, scroll down to the Locations section and click Attach Location:

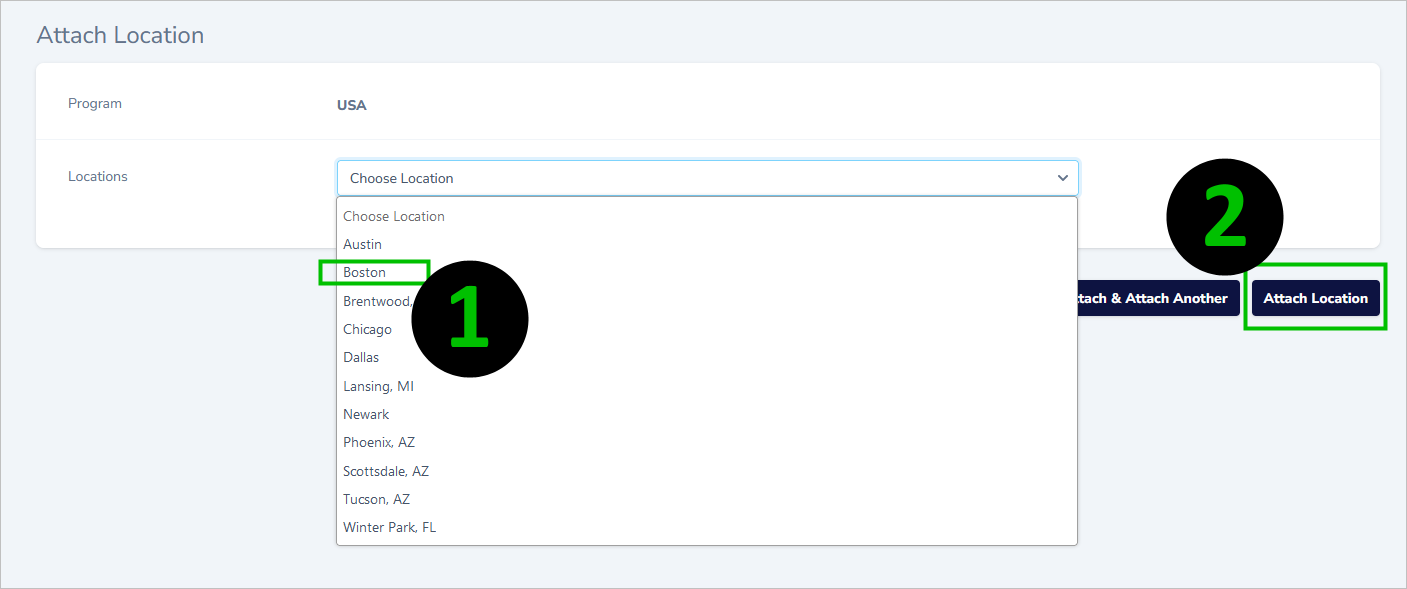
Select the location that you’ve just created, and click Attach Location:
